Update Firmware for the AI Sensors
Table of Contents:
1. Prepare Hardware & Software
- Update Tool:OTA_Tool
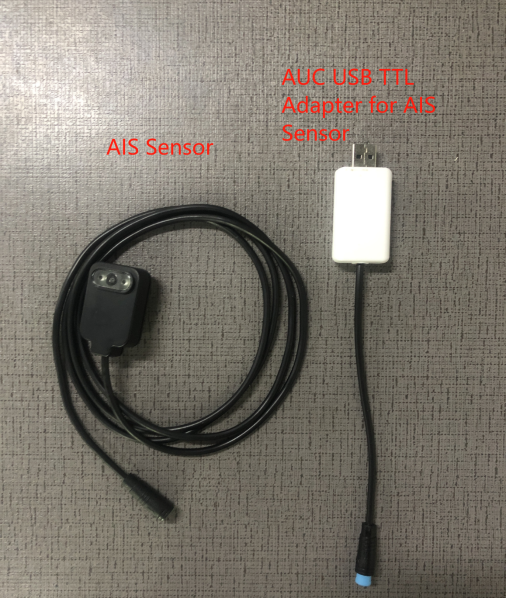
- Hardware: AIS Sensor, AUC USB TTL Adapter for AIS Sensors, PC
- Firmware:Digital wheel dial firmware,Pointer dial firmware
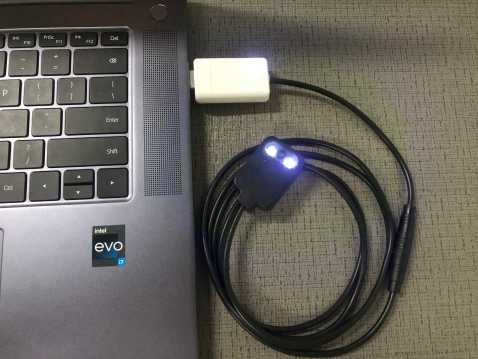
2. Hardware Connection
The AIS Sensors and AUC USB TTL Adapter for AIS Sensors are connected and then connected to the PC.
3.OTA UART flash
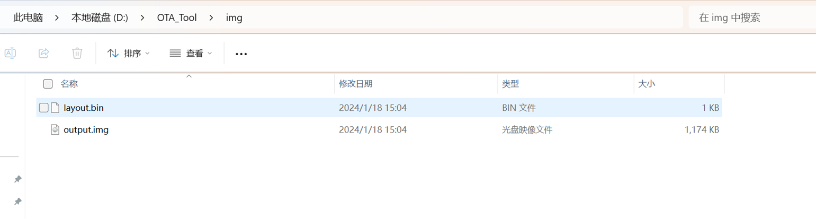
Open the OTA_Tool folder and put the latest firmware "layout.bin" and "output. img" into the img folder.
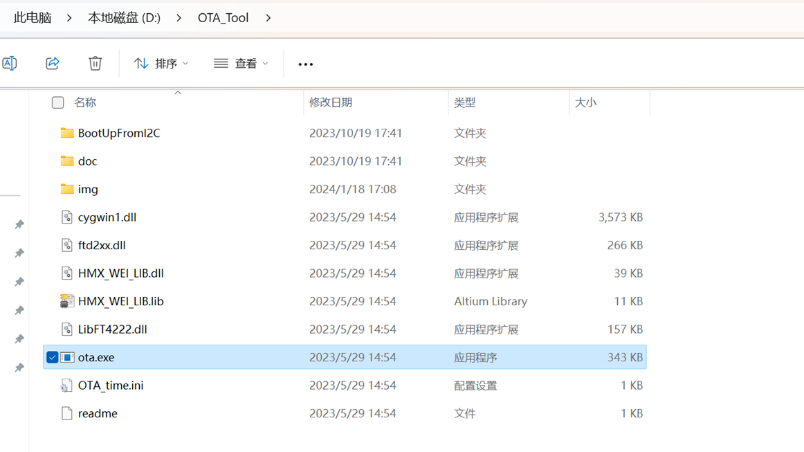
The OTA_Tool folder should be opened and the program can be run by double-clicking on ota.exe.
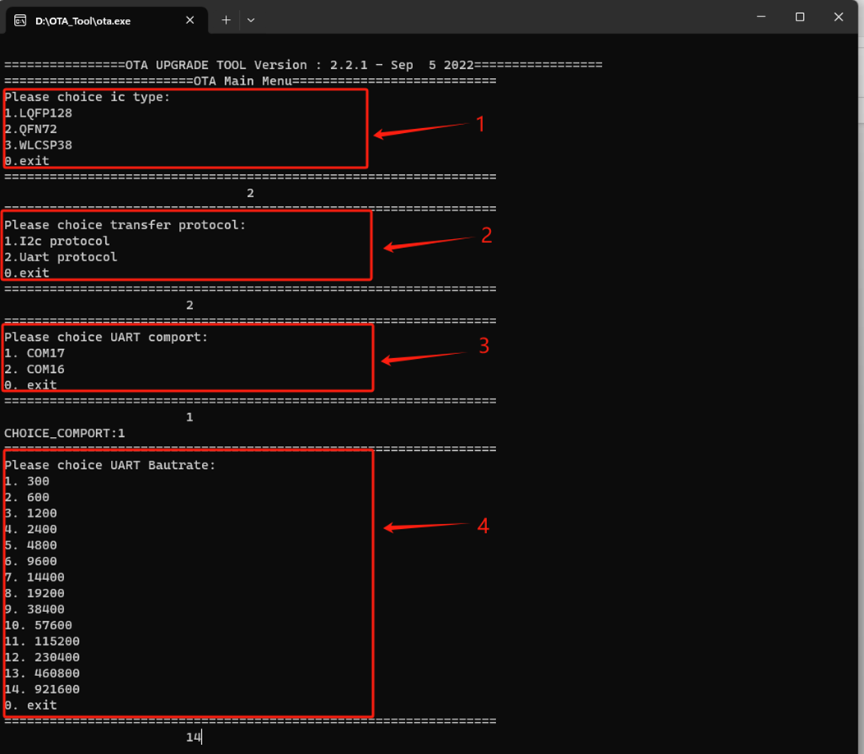
When the program opens, follow these steps.
1 Select the chip type. AIS uses QFN72. Press 2 to select QFN72
2 Select an upgrade mode. AIS supports serial port upgrade only. Press 2 to select Uart protocol
3 Select a port number. Choose the largest number of serial port, For example, here shows 16 and 17. Press 1 to select COM17
4 Select the baud rate. The default baud rate is 921600. Press 14 to select 921600
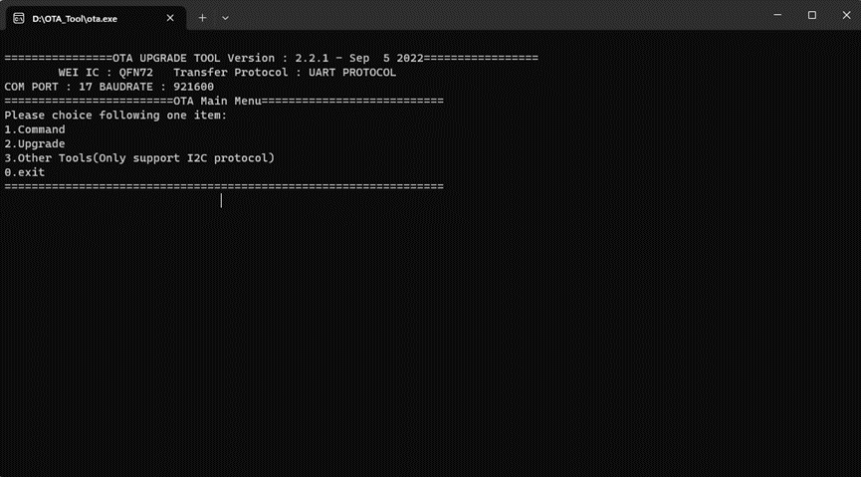
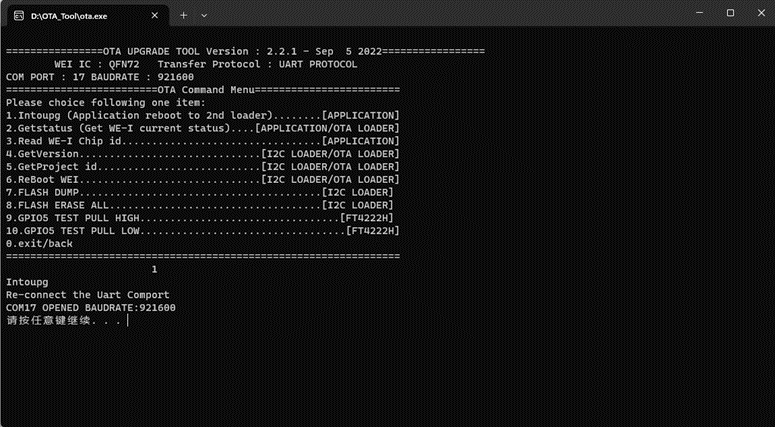
After the baud rate is configured, the upgrade page is displayed. 1 is to check whether the communication port is correct.
 x
x
Select 1 to check whether the configured port is correct.
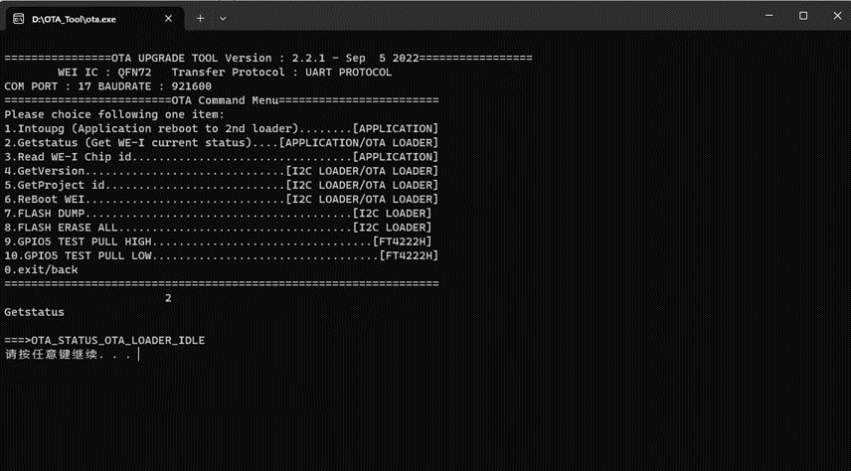
Select 2 is port is after normal communication with AIS.
Press 0, press Enter, and select 2 to go to the upgrade surface.

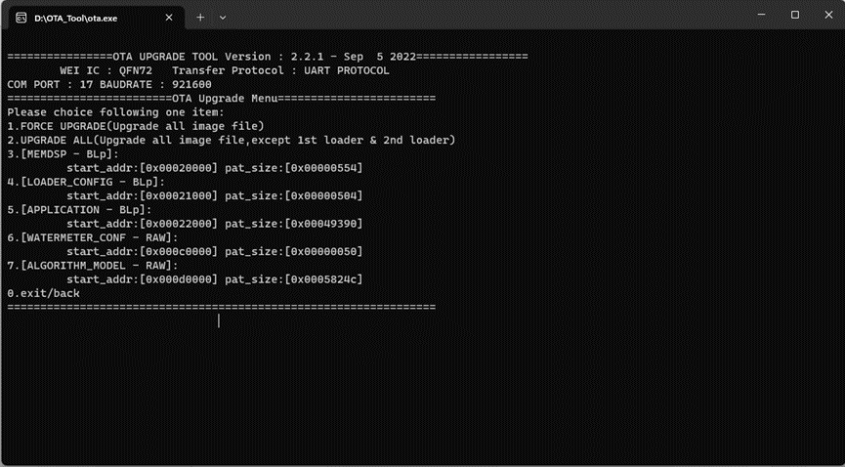
Select 2 to enter the upgrade.
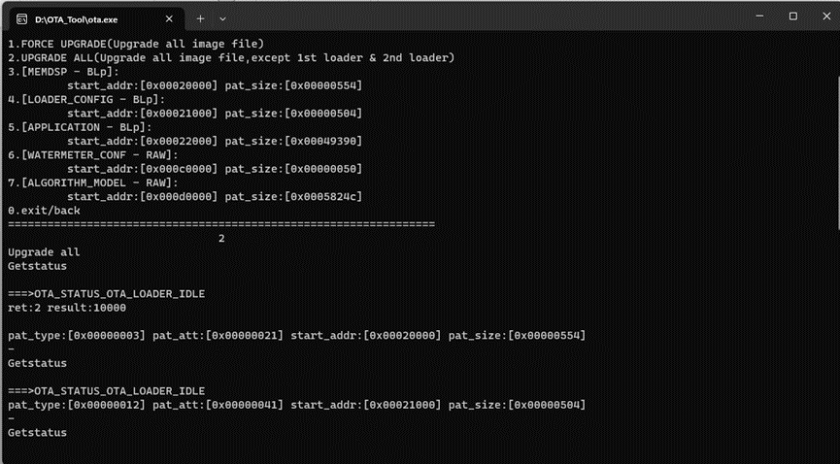
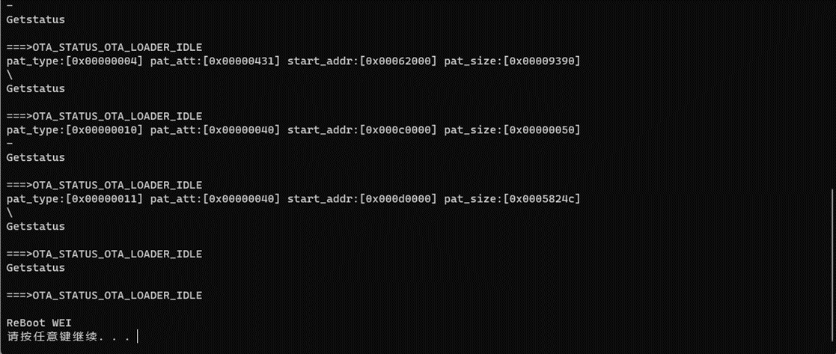
If ReBoot WEI is displayed as shown in the following figure, the upgrade succeeds.